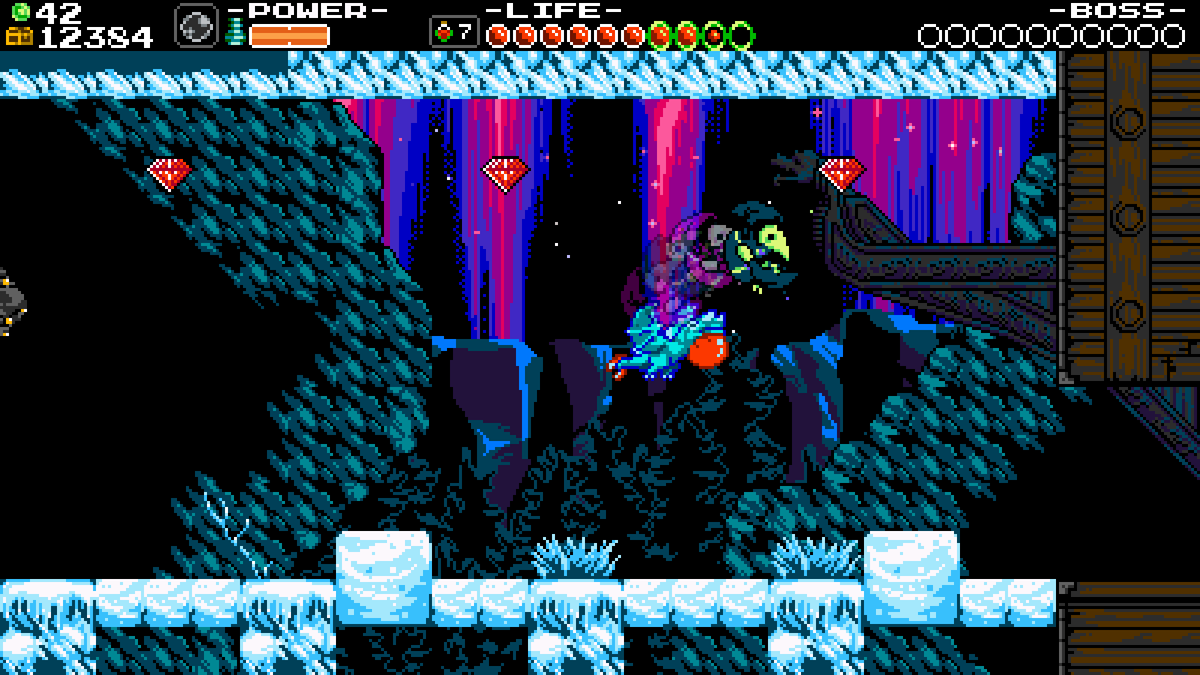
Plague Knight can cover a gap in a way that looks completely unreasonable until you understand which part of the movement you still control. That is the first adjustment worth making in Shovel Knight: Plague of Shadows. You are not trying to reproduce Shovel Knight's jump with a different costume.
Yacht Club Games' manual gives you a jump, a second jump, a charged Bomb Burst and bombs that slow your movement in the air. The useful question is how to arrange those tools around the place you need to land. Spending every movement option at once is certainly explosive. It can also leave you with very little to say about the final few inches.
Learn what the burst button is actually doing
Using the manual's button labels, hold B until Plague Knight flashes, then release to burst. The burst can travel upward, left or right. Your platform or controller may label the action differently, so follow the action assignment in your own controls rather than looking for a literal B on every pad.
Before a difficult crossing, practice the release on a safe section of ground. Focus on the difference between charging the action and committing to it. If you keep launching earlier than intended, first make the timing recognizable somewhere a mistake does not immediately end the experiment.
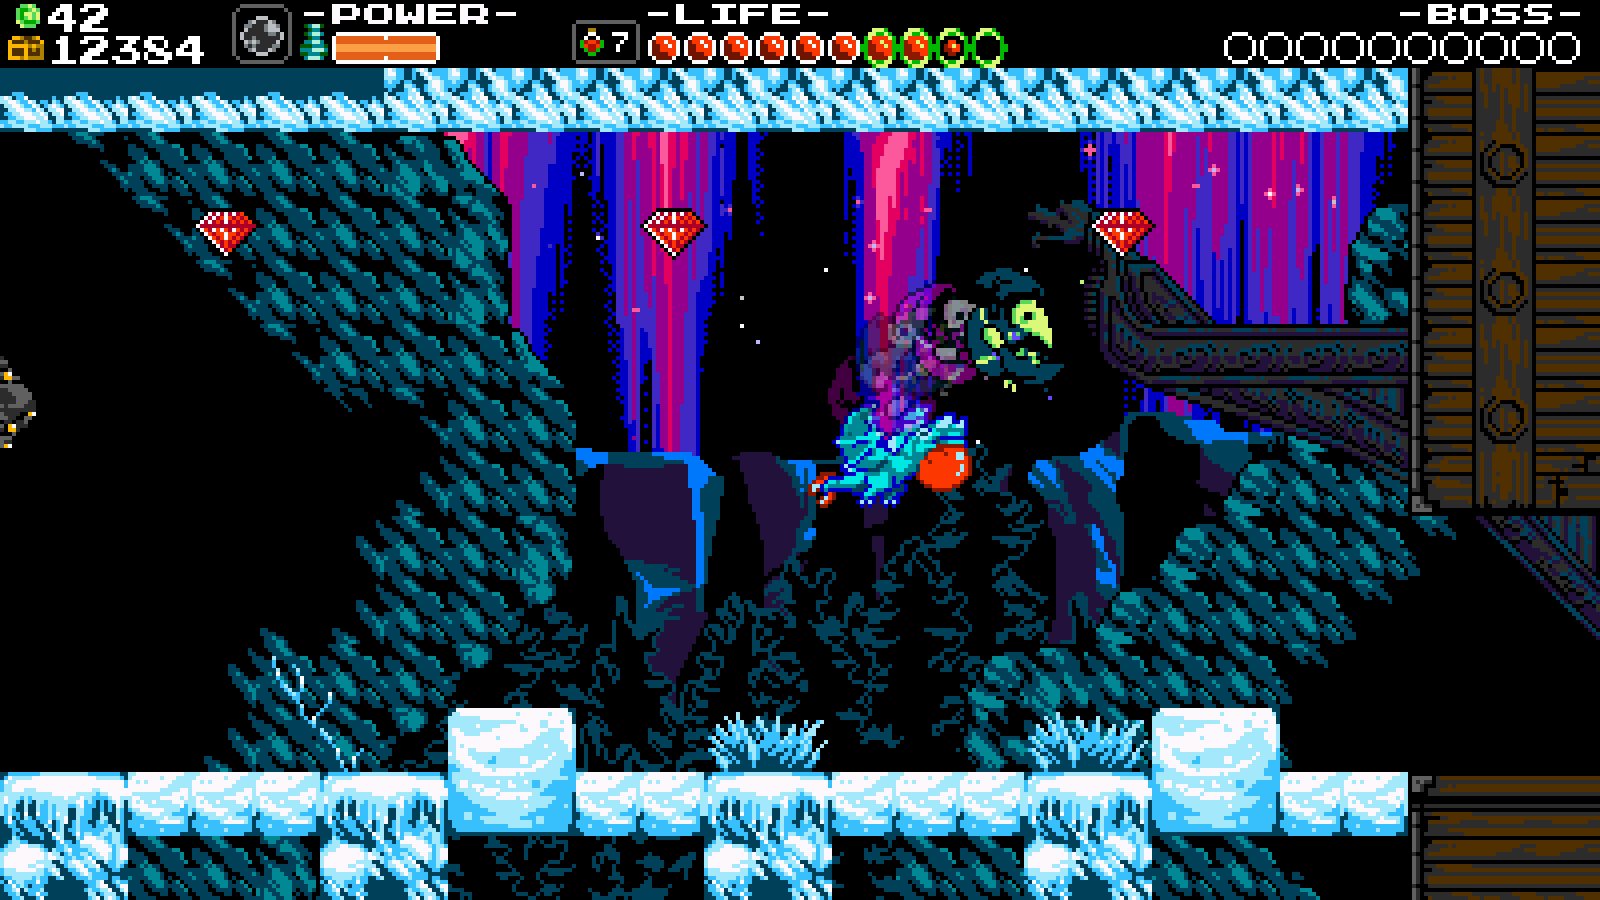
Save the second jump for a reason
The manual explicitly demonstrates a jump, followed by a Bomb Burst, followed by another jump. That sequence matters because the second jump can give you another adjustment after the large movement, rather than being spent automatically at the beginning.
Think about the destination before starting. A broad platform leaves room to correct an overlong approach. A narrow ledge makes the late adjustment more important. Neither situation requires a different character; they require a different decision about when to use the tools you have.
Our suggestion is to practice one combination repeatedly before adding another. Make the landing consistent, then change the starting distance. If every attempt changes the launch position, burst timing and second-jump timing together, it becomes difficult to identify which part helped.
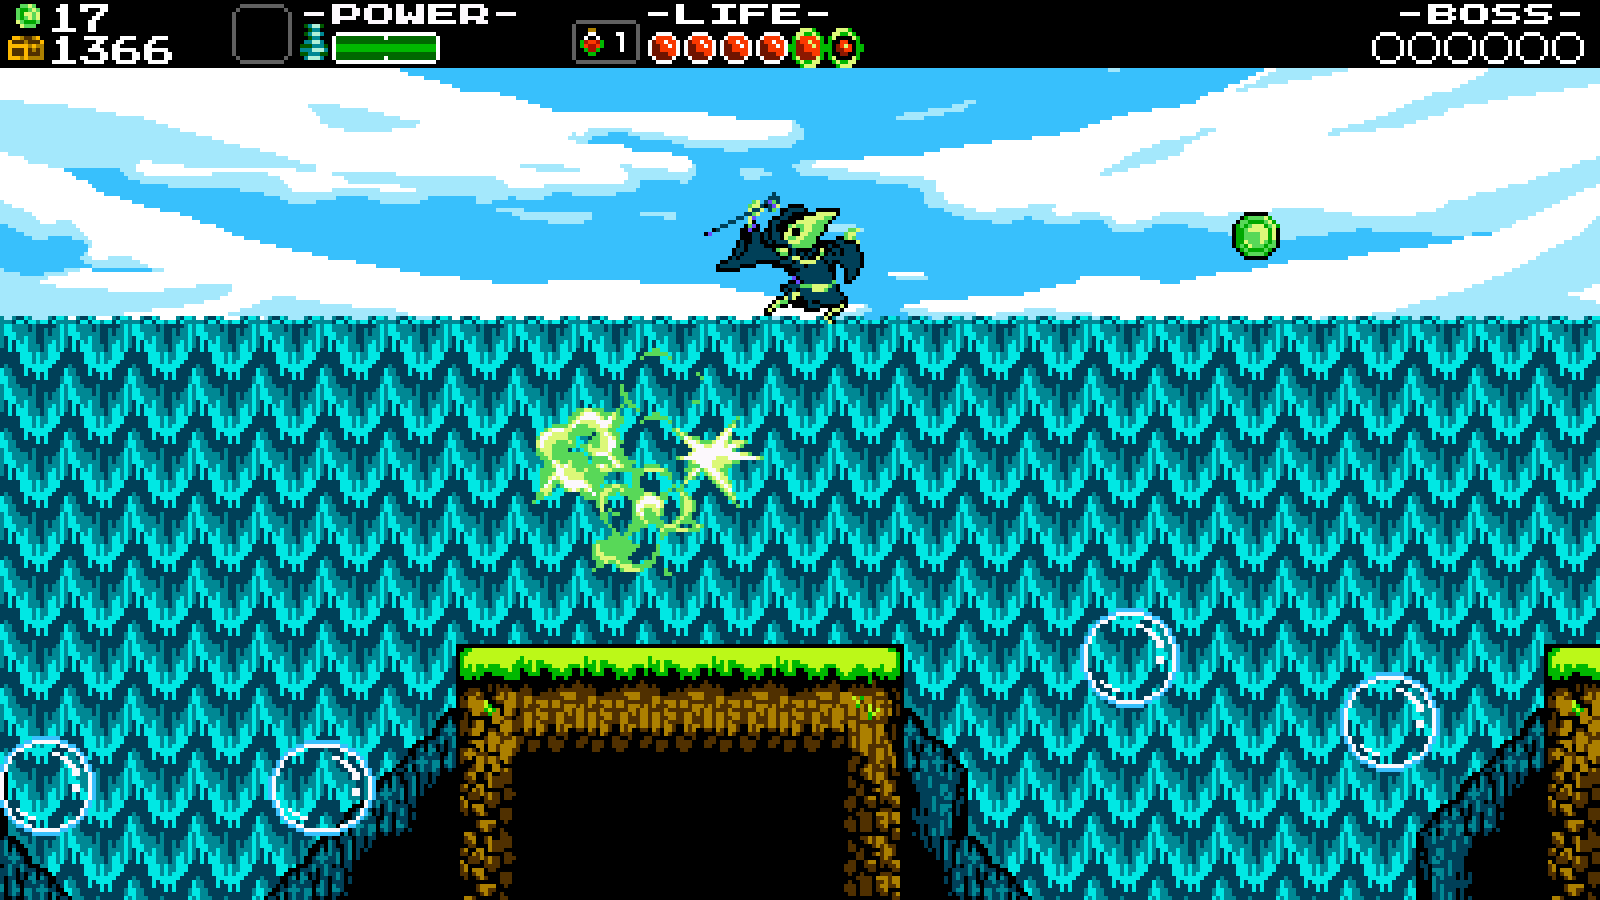
Throwing a bomb can also be a movement decision
An airborne bomb throw slows Plague Knight, according to the official manual. That gives the attack a second purpose: it can help adjust the approach to a landing. The manual calls out using bombs after a burst to slow down near a precarious ledge.
It is a good example of why this campaign feels strange if you separate movement and attacking too rigidly. An action you associate with dealing damage can also change where you arrive. A useful practice attempt might therefore involve throwing a bomb even when the important target is the platform underneath you.
Do not turn that into another automatic input. Decide whether you actually need to slow down. Repeating an air-braking action on a crossing that already falls short simply gives the same problem another button press.
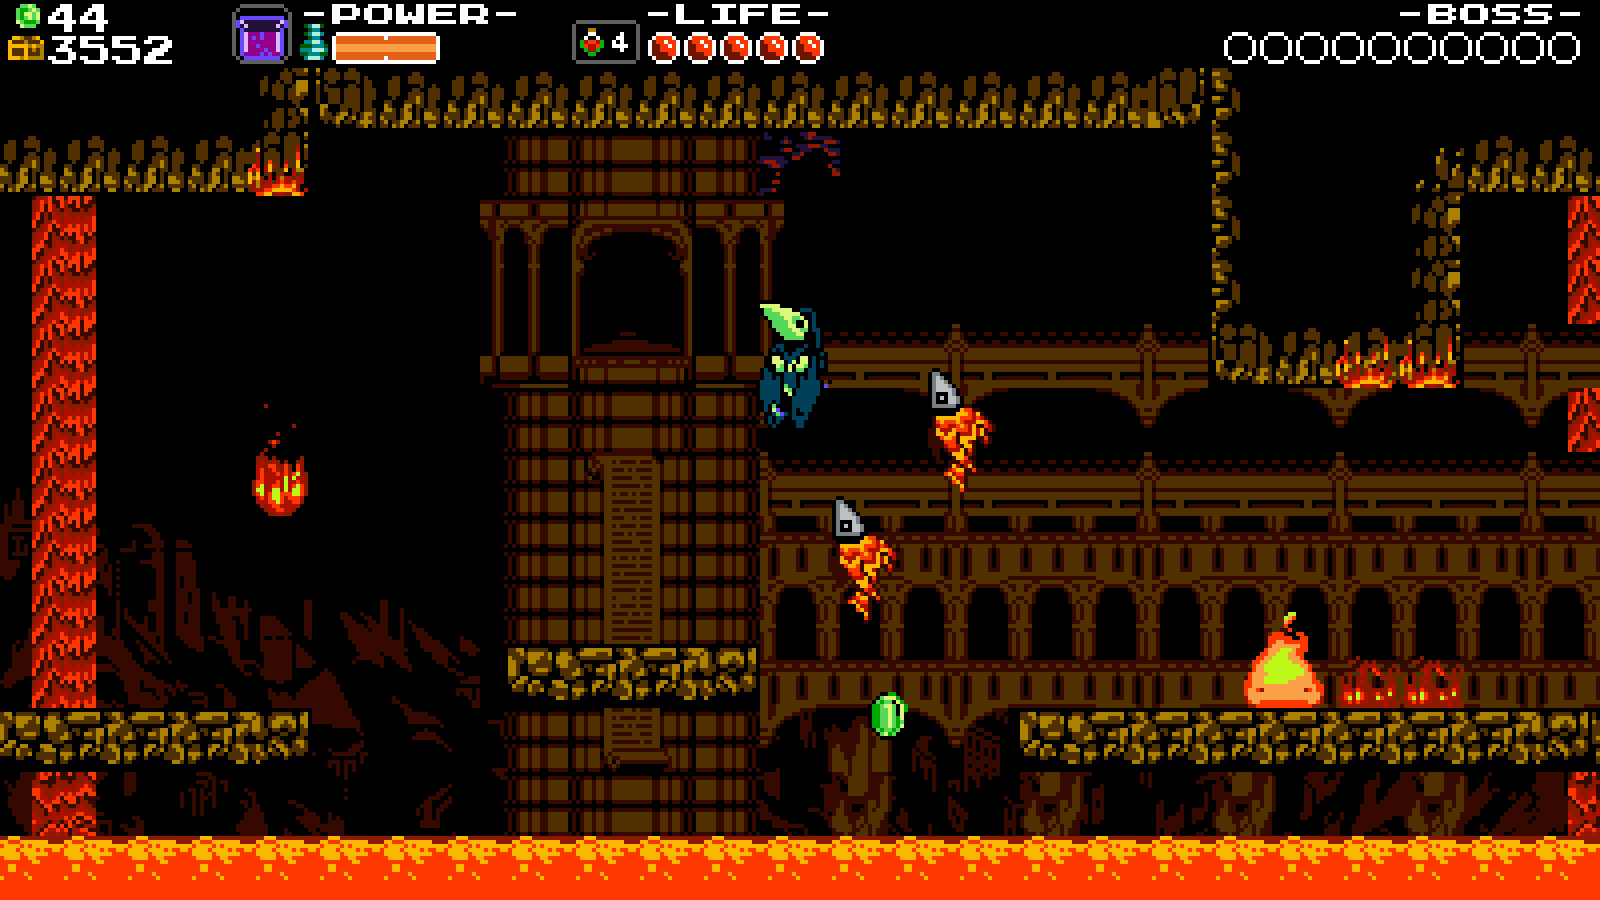
Recovery is a tool, not a complete plan
The manual describes recovering from a fall with a burst or double jump, including situations after taking damage. Knowing that recovery exists is valuable. Building every approach around a last-second rescue is a much less relaxing way to travel.
When you miss a landing, separate a bad starting plan from a late execution error. If the entire route depends on a desperate correction, try a different starting point or save an adjustment for later. If the route was sound and the release was simply early, practice that one input instead of replacing the whole approach.
That distinction keeps the campaign's flexibility from becoming noise. More available actions do not mean that every crossing needs all of them. Often the clearest route is the one where you know which option you deliberately kept unused.
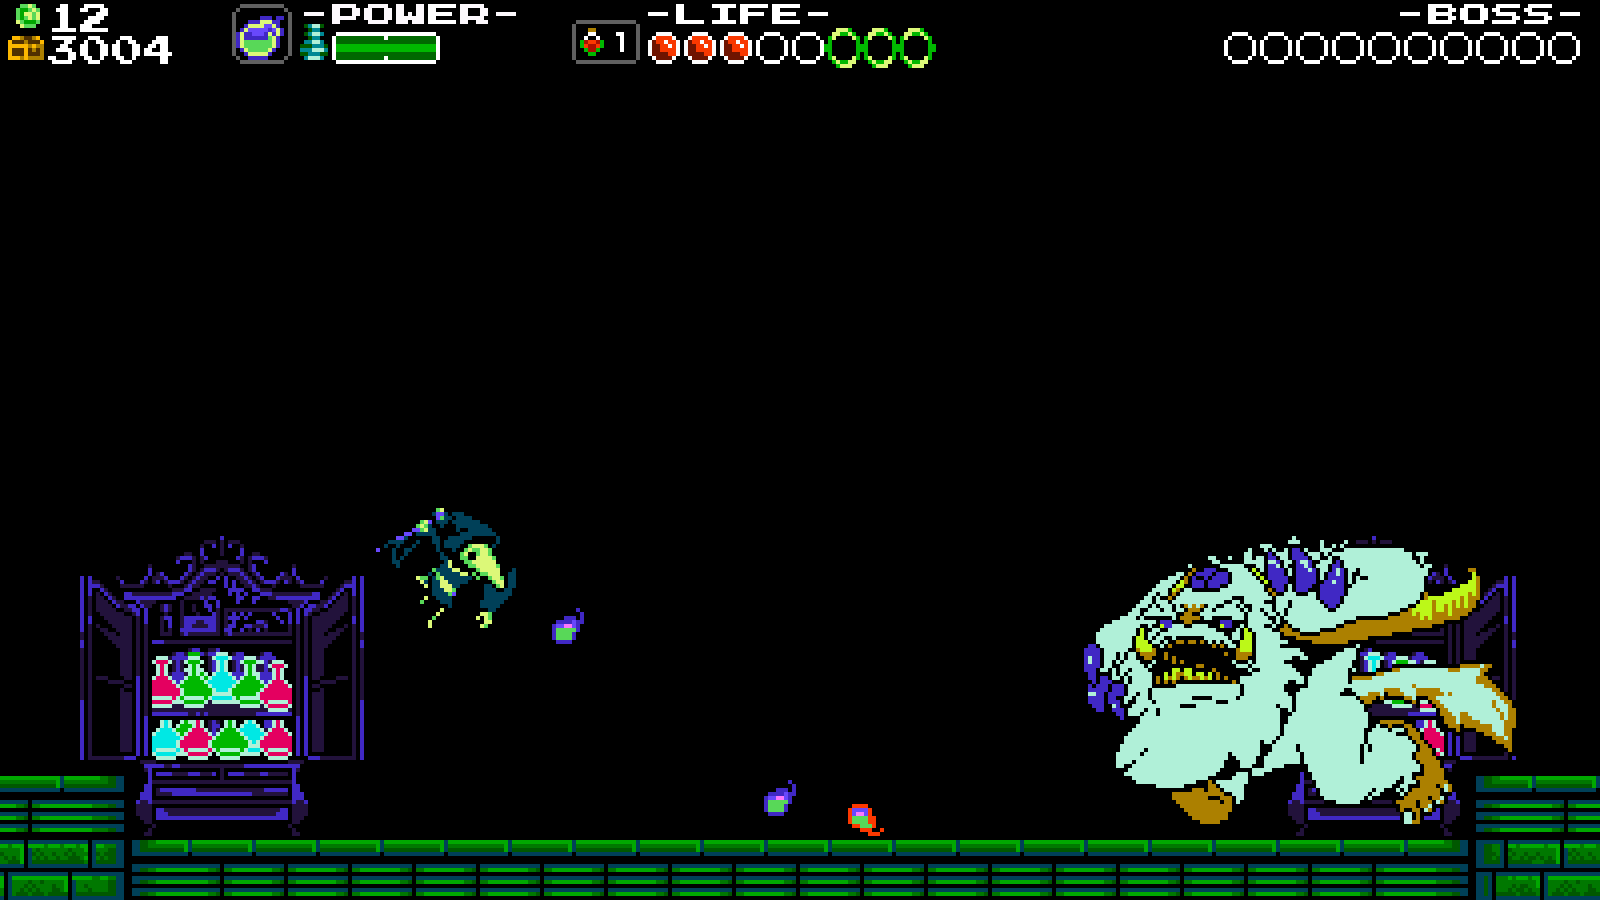
Familiar levels deserve a second look
In its 2015 mobility-design account, Yacht Club explains that retaining much of the original level design made a genuinely different movement set especially important. The old spaces needed to pose new problems through the new character.
That is a useful mindset when returning from Shovel of Hope. Recognizing a stage is not the same as already knowing your approach through it. Look again at the height changes, available landing room and places where a burst would leave you committed to a direction.
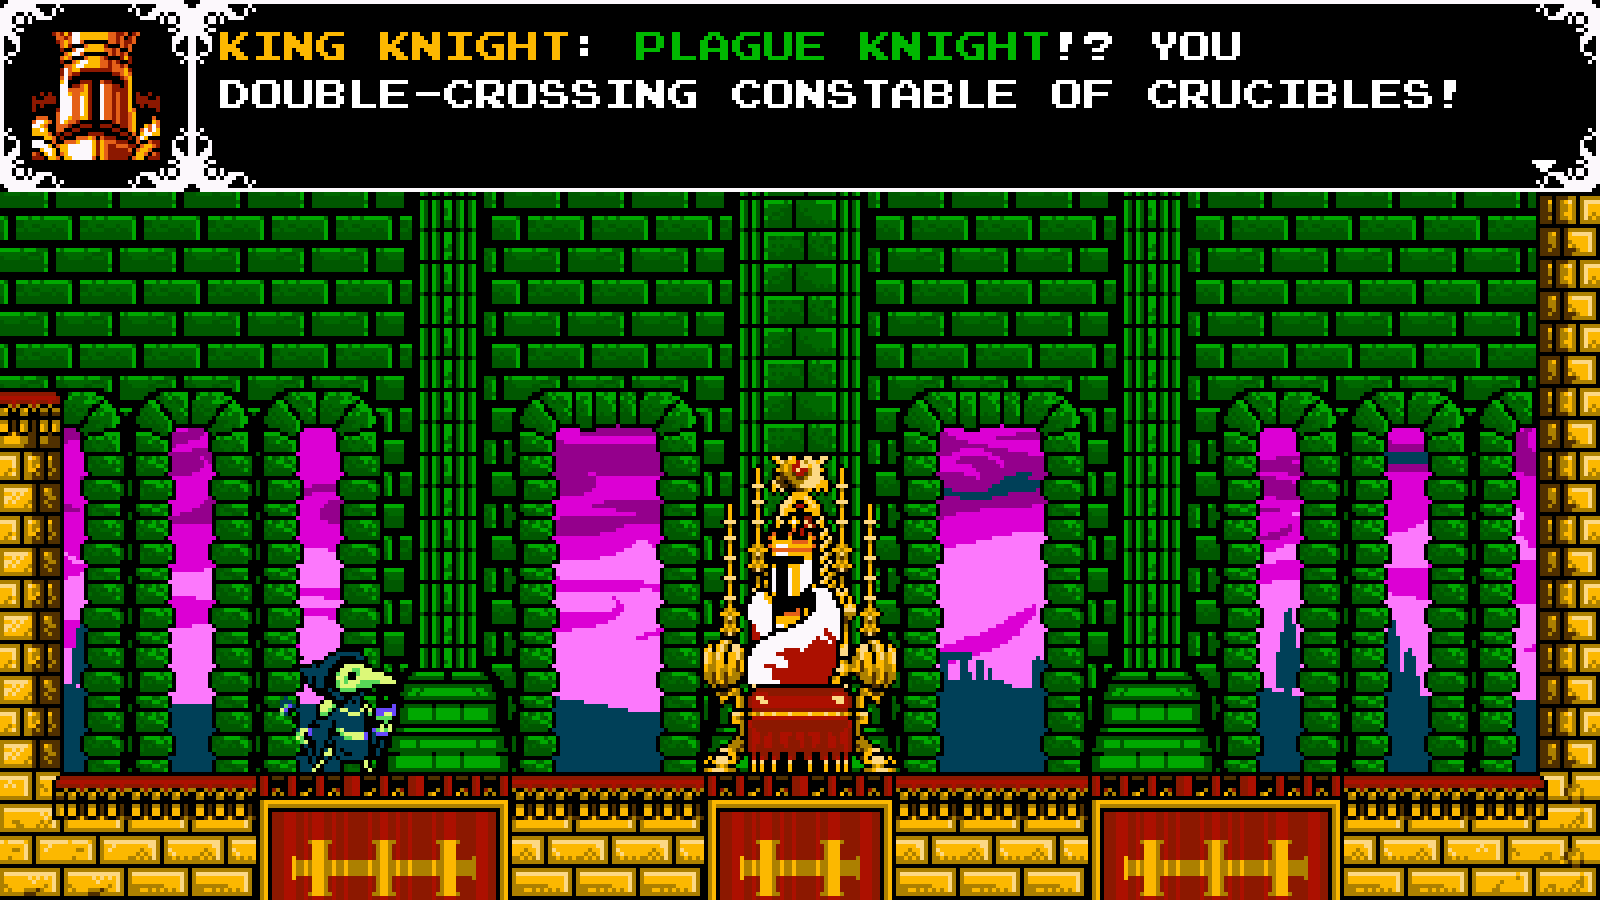
The campaign also has its own story and interactions. The official King Knight conversation shown here is part of Plague Knight's adventure, not a screenshot of the original protagonist with a cosmetic replacement. Take the time to see what this version of the journey is doing before treating it as a route to speed through.
Check the package before starting a new profile
Plague of Shadows is included in Shovel Knight: Treasure Trove. Yacht Club's update guidance says that Treasure Trove version 3.0 and later makes the campaign available from the start. That is a more useful present-day check than following old launch instructions that assumed you first needed to finish Shovel Knight's campaign.
Once you are in, use a small practice routine: identify a landing, charge the burst deliberately, and decide where the second jump belongs. Then try the same crossing again with one change. The aim is to make Plague Knight's unusual options feel intentional. When the landing starts making sense, the explosions become considerably easier to appreciate.
Find the next game for your shelf
Ready for another physical game? Shop the Zypher game selection, reading the condition and contents on the listing you choose. You can also start a sell list with Zypher for games you no longer need.
Sources and image credits
- Yacht Club: Plague of Shadows instruction manual
- Yacht Club: Plague Knight mobility design
- Yacht Club: update and campaign availability guidance
- Yacht Club: official Plague of Shadows press kit
Unaltered screenshots supplied in Yacht Club Games’ official Plague of Shadows press kit for editorial coverage. Capture platform and build are unspecified. Controller letters follow the manual’s example, not a promise about every controller. Sources and store links checked November 15, 2026. No publisher endorsement is claimed.


